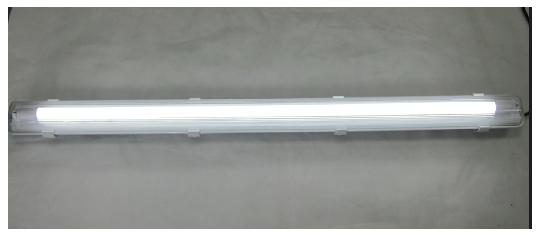
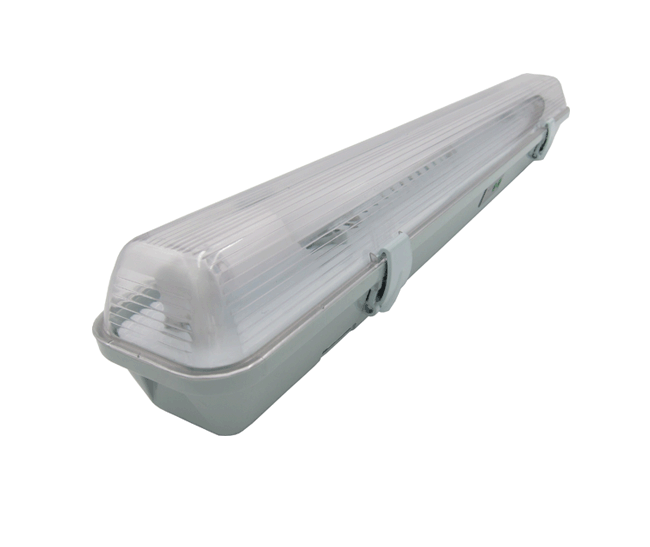
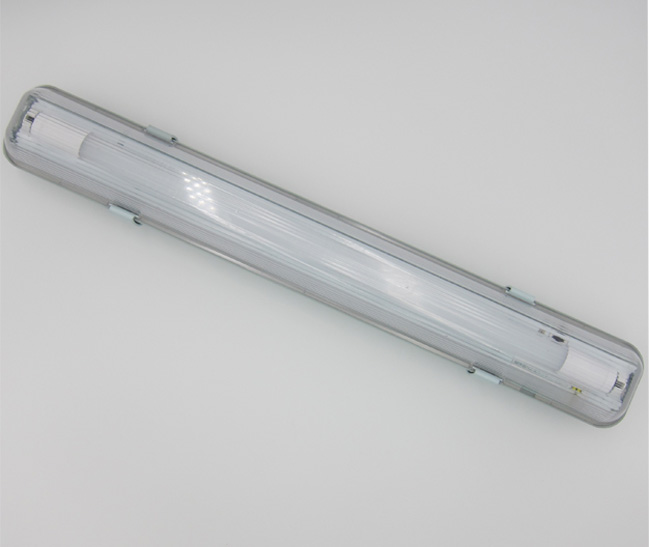
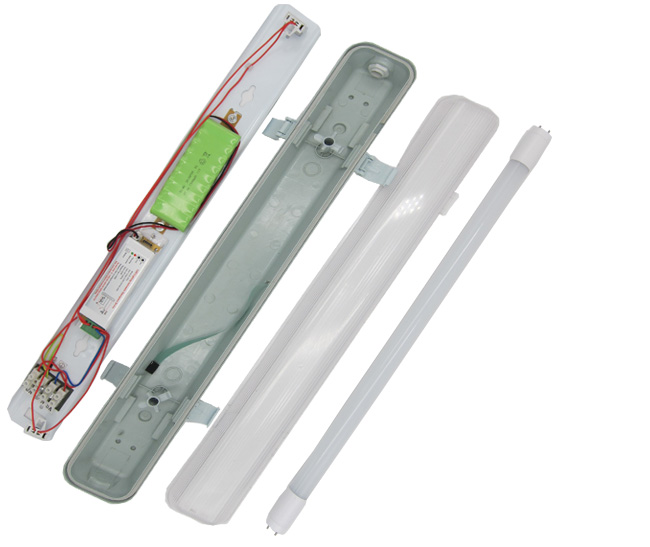
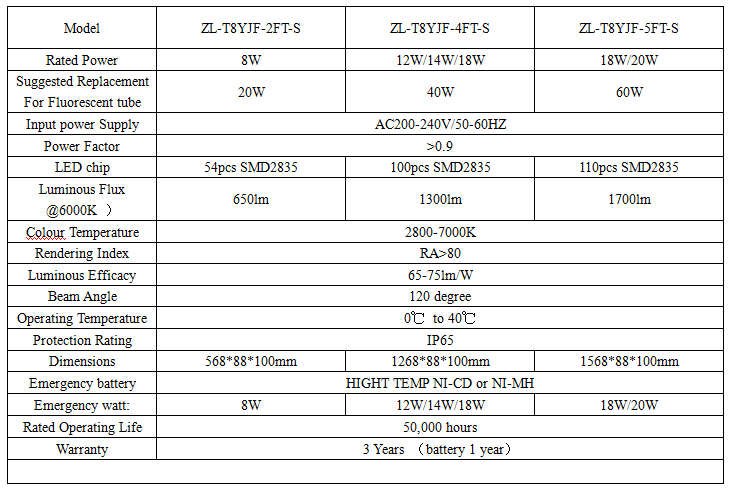
Specification
Installation
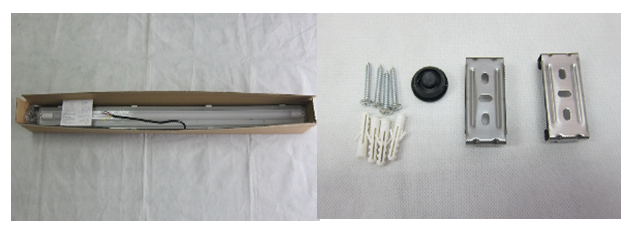
1. Open the package; take out the accessory for installation.
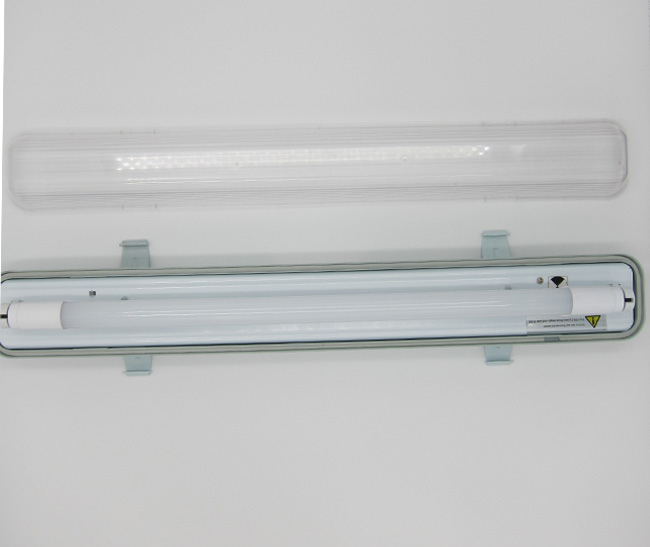
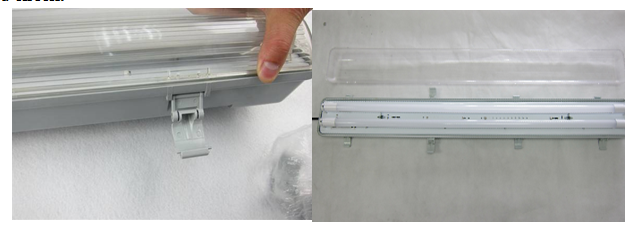
2. Check the fixture to make sure T8 tubes fixed well, if necessary,open the cover and check.
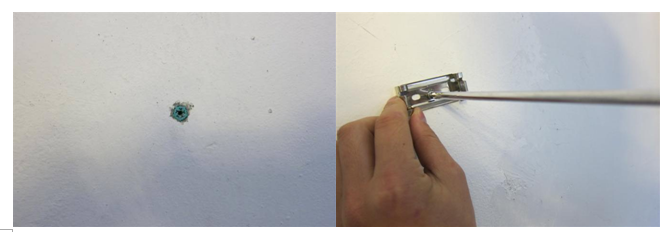
3. Choose a suitable place to mount the fixture. Tack plastic studs on the ceiling and fix the metal buckles on the wall/ceiling with screws.
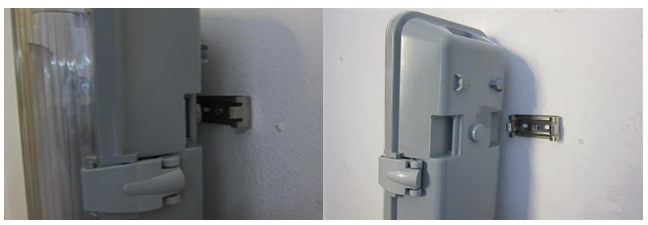
4. Mounting the fixture to buckles.
5. Connect the power wires.
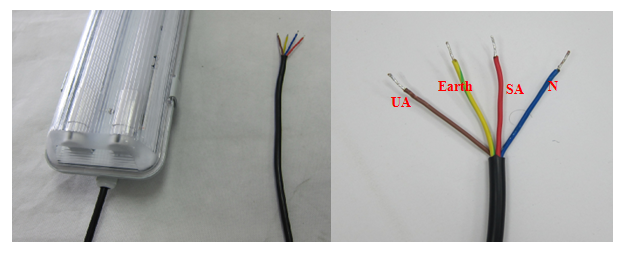
a) Connect main power wires to lead wires as follows.
Connect main power live line (L) to Brown wire (UA), Live line (L) – UA
Connect main power Earth to Yellow/Green wire (Earth) Earth—Earth
Connect Switch lines (L,L’) to Brown wire (UA) and Red wire (SA) Switch lines (L,L’) -UA, SA
Connect main power neutral line (N) to Blue wire (N) Neutral line (N)--N
b) Open the cover and let main power wires go through the Gland and connect wires to inside terminal block as follows.
Connect main power live line (L) to “UA”, Live line (L)-UA;
Connect main power Earth to “Earth”, Earth--Earth;
Connect Switch lines (L,L’) to “UA” and “SA”, Switch lines (L,L’)—UA, SA;
Connect main power Neutral line(N) to “N”, Neutral line (N)—N;

6. Turn on the AC power.
